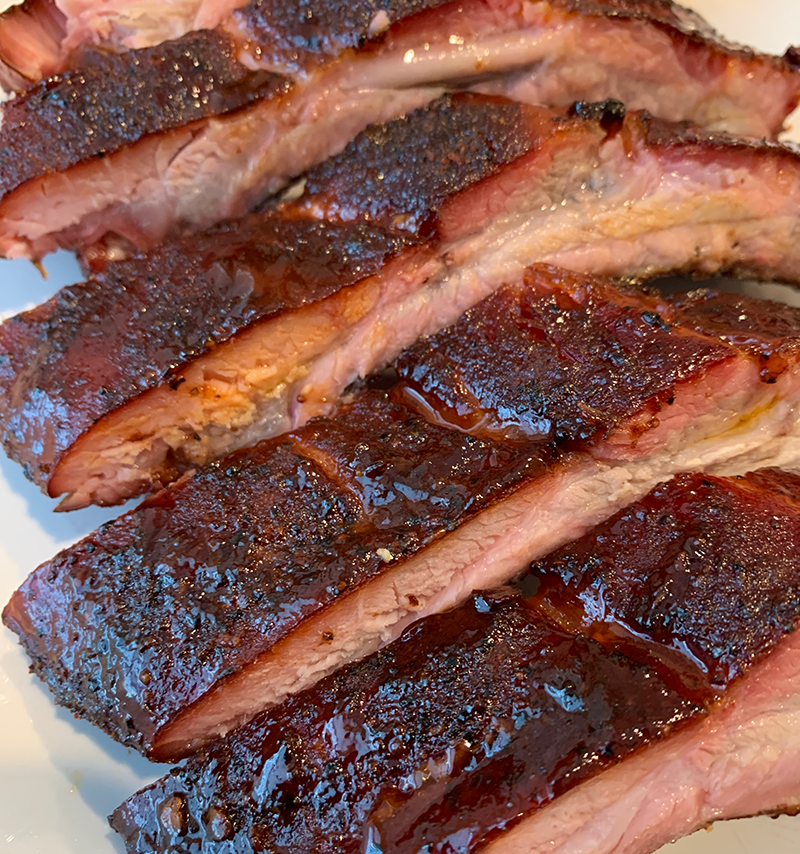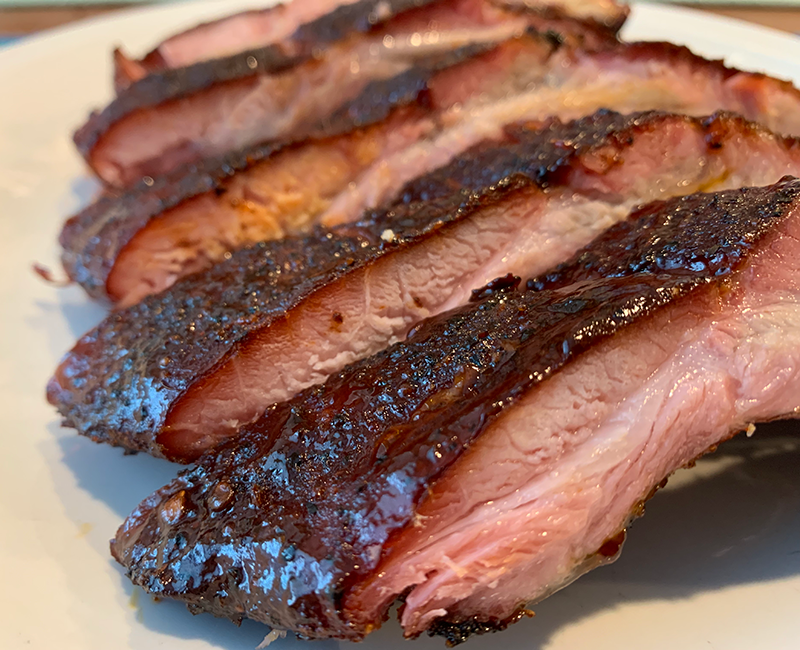
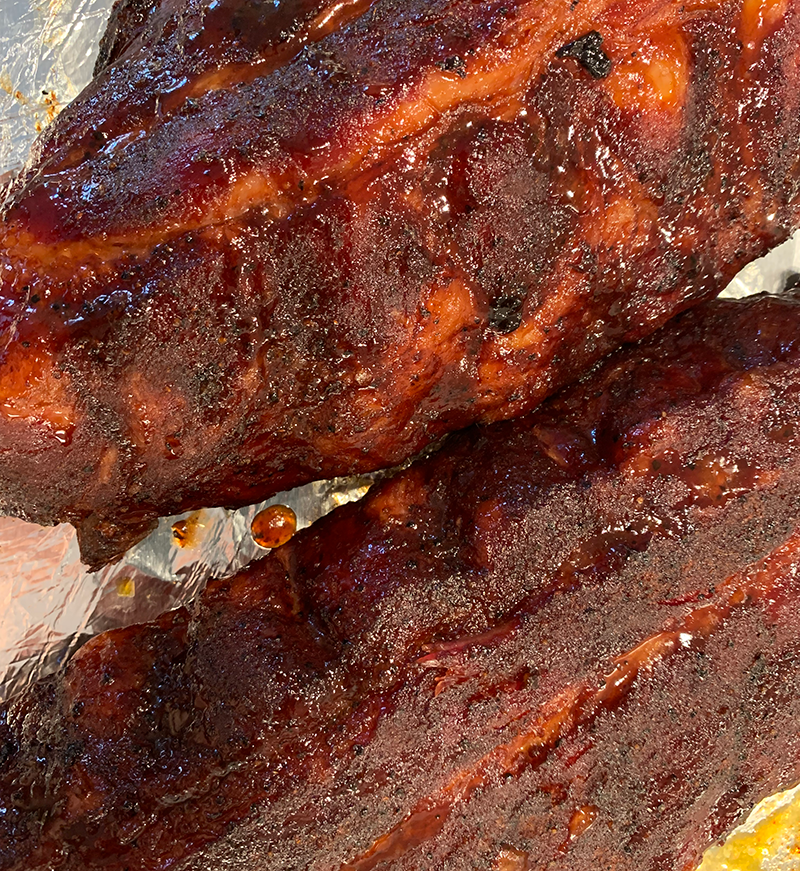
Like many of you, we’ve enjoyed our share of baby back ribs over the years.
Growing up in Texas and living around the Southern Tier of the country for half (more or less) of our adult lives, we’ve sampled more ribs that I’d care to recount, including those prepared by an army of home grill and smoke masters as well as enjoying those offered up by some of the most hallowed barbecue joints in the nation (which probably actually means the world, dammit).
Some have been sublime, with taste and textures approaching perfection; some have been nigh on inedible, and like you, we’ve seen everything from ribs ruined by a par-boil, some undercooked and raw, or otherwise burned to a crisp, tough as a boot and so bad the dog wouldn’t touch ‘em.
Though we almost always think of a low and slow cook over live fire when conceptualizing the perfect back rib recipe, like many of you we’ve experimented with all sorts of approaches, including a faster grill over live real-wood fire (or damn nice hardwood charcoal), slow roasts in the oven, and even a braise now and again.
For a host of reasons that most of you really wouldn’t give a damn about, this year I pulled the plug on a pellet grill/smoker rig; it’s a nifty tool, damned efficient, insanely convenient, for the most part child’s play easy to use, and can often achieve results close to what I’d (and many others) would argue is the absolute gold standard for smoking proteins at home – an offset, wood-burning smoker.
Pellet grill / smokers versus off-set wood burners can still invoke colorful and contentious debate in some circles, most often for good reasons, though I’m choosing very intentionally to steer clear of such today; I use both, and dammit the pellet rig is far easier to use and doesn’t need the nursing and attention that the wood burner does.
When it comes to baby back ribs, many pellet rig acolytes insist that the only way to go is to use what’s become known as the 3-2-1 approach, which entails starting a prepped and rubbed rib for 3 hours at somewhere around 225 (classic low and slow), then wrapping in foil (the Texas Crutch) with various additional ingredients and cooking for another 2 hours at 225, then unwrapping and most often saucing with another hour at 225 required to finish the cook and set the sauce.
I first tasted baby back ribs cooked using this method at the table of a friend who’s actually quite handy in the kitchen, and at the grill/smoker. His sauce was delicious (a classic Dr. Pepper based, Texas-style sauce), his base rub perfection, but the ribs were of a decidedly off-putting texture – they were in reality too tender to the point of being mushy. My compadre was all about the ribs being “fall apart” tender, which they were to the point of not being able cut into single serving rib sections without crumbling, and being unable to lift meat using a single rib as a “handle” to one’s mouth.
This example is of course illustrative of a key concept in cooking for one’s family at home – you have the ability to cook your food exactly how you and yours enjoy it maximally. For most food there’s unquestionably a range of what perfection is to you and yours, and you get to make the call.
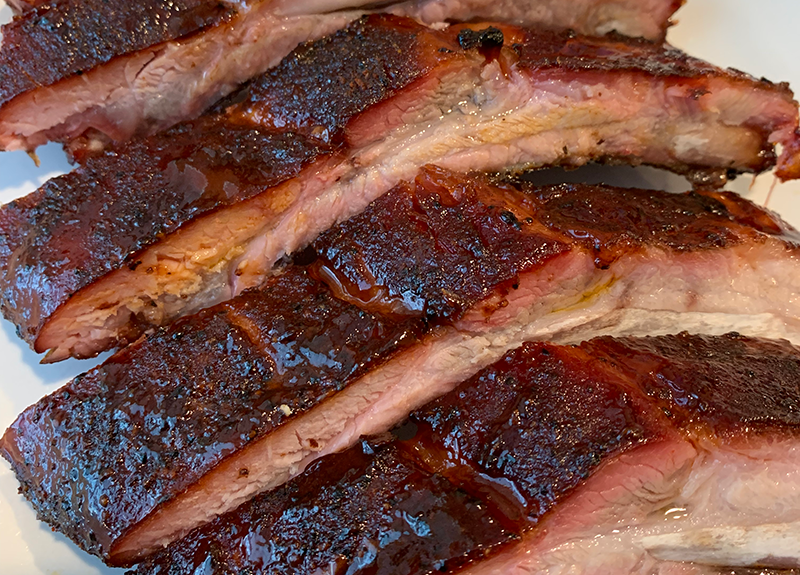
That said, we fall into the “mushy ribs suck” camp, and prefer our back backs to be as tender as can be without falling apart as you pull them off the smoker rack, with the perfect tooth remaining.
The Best Rib Cook in Our Book: The 3 – 3/4 – 3/4 Approach
Hey, let’s face it, this isn’t rocket science, and experimenting a bit to attain the best results is part of what makes cooking at home such a rewarding approach.
Getting great tasting, amaze your family and guests results with baby backs is really pretty damned easy, and starts of course with selecting the best baby backs you can find. If not prepped by the butcher, remove the membrane from the underside of the ribs before seasoning with your favorite rub.
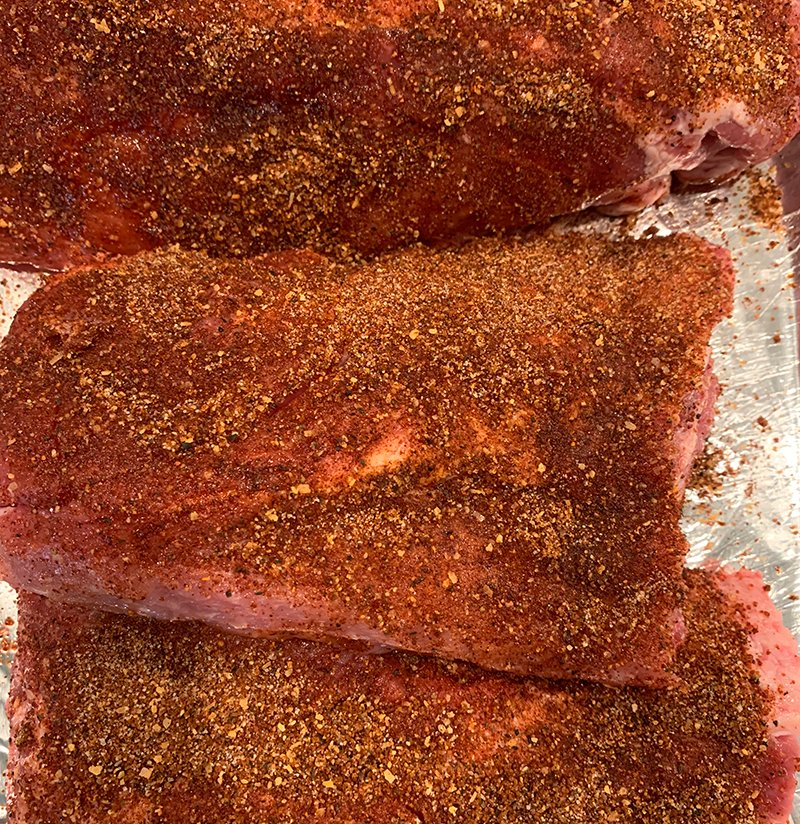
A quick thought on rubs – there are literally thousands available commercially, and if you do a bit of digging, they’re almost all built around a common formula – salt, sugar (or other sweeteners), and complementary spice arrays. By all means experiment, shop around, compare ingredients, and see what your family enjoys the most, though I’d encourage you to make up your own rubs to control the quality of ingredients and freshness of spices used. We have a go to rub recipe for pork that I make up in bulk, after looking quickly today I see that I haven’t shared it and will do so here in the next few weeks…
Though there’s some debate among chefs and food scientists as to how much time is needed to allow rubs to maximally flavor meat before cooking, we lean to rubbing pork baby backs at least 6 hours (and up to 12 hours) before throwing in the smoker, resting uncovered in the fridge once rubbed.
Our son Jake is a fan of using standard American yellow mustard as a binder for rubs on pork; I tend to lean to apple cider vinegar (probably out of habit as much as anything).
Once ready to start a cook we’re now using a 3 – 3/4 – 3/4 approach to our baby back rib cooks, with the first three hours typically in the smoker at 225.
Another quick aside on temps – I cook just about everything on the grill or in the smoker to internal temperature targets these days instead of using time; if you’re not you should be, and my food has never been better since doing so. Ribs are probably the only protein we don’t cook to internal temp targets – it’s very difficult to get accurate internal meat temps given the thin bands of meat on pork ribs (baby backs more-so than spareribs) and the proximity of the rib bones.
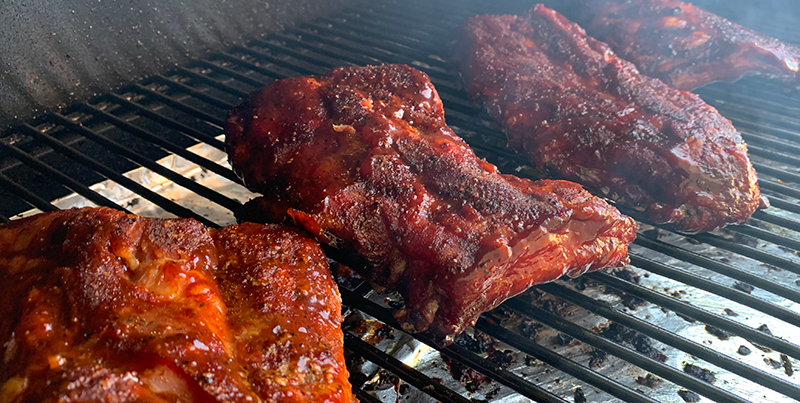
Once that first three hour cook has been complete, we use the Texas Crutch approach, wrapping each rib section in heavy duty foil after brushing both sides liberally with a mixture of melted butter and honey as shown below. There are dozens and dozens of “magic mixtures” touted as being best add-ins or pour-ons for the wrapped portion of rib cooks, you’ll want to experiment a bit, though we keep coming back to the butter and honey mixture given its rich flavor contributions that don’t overwhelm the spices in our rub.
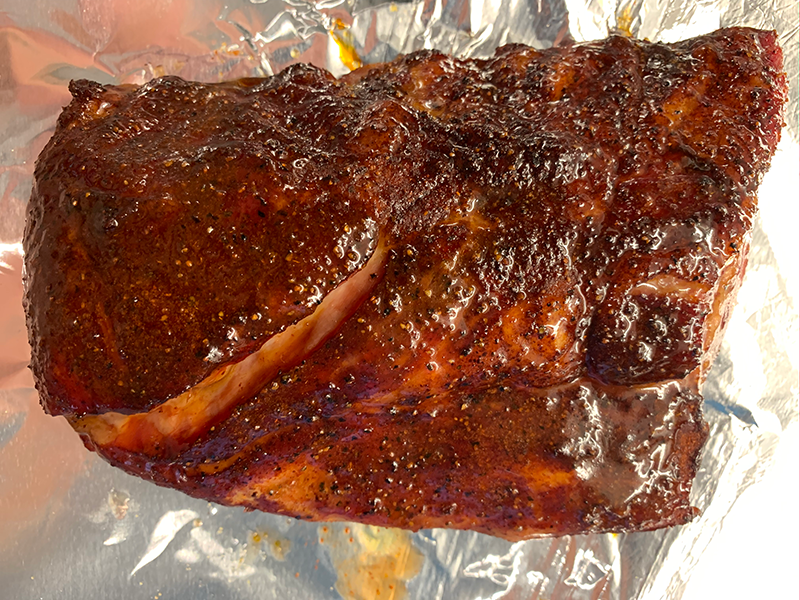
Once wrapped, the ribs go back in the smoker at 225 (or the oven, wrapped they don’t absorb any flavors from their environment) for 45-60 minutes.
Once that cooking window has been completed, unwrap the rib sections carefully (there will be liquid in the foil packages), sauce the ribs, and throw them back on the smoker for another 30-45 minutes, until the sauce has set and a bend test shows the ribs have reached perfection.
It’s time to round up your next batch of ribs, your favorite rub, and fire the smoker – git ‘er done.
Enjoy.
