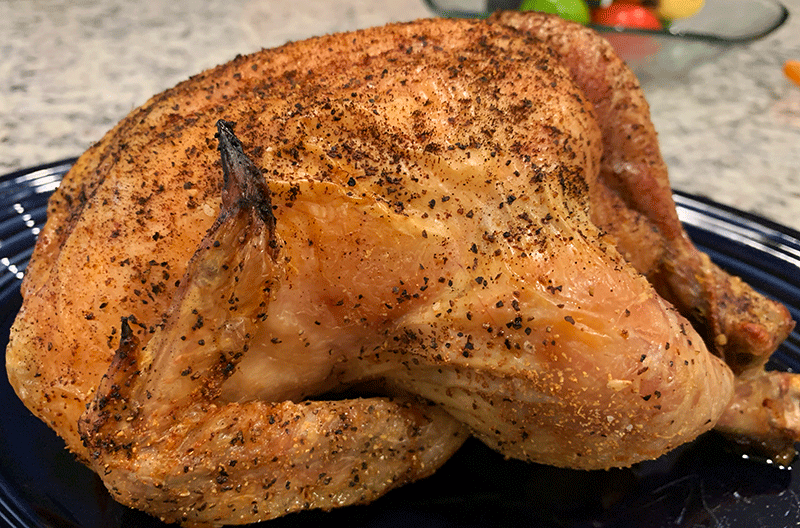
When I was a wee lad visiting grandparents on the Texas Coast, now and again on a Saturday afternoon Ma-Ma (pronounced maw-maw) would walk down the block in Bay City to the corner grocery, replete with wooden floors and swinging screen doors out front that always banged shut behind us, and buy a fresh chicken or two from the cooler in the back.
She and the shop owner would chat about whose farm it came from and how fresh it was; she’d always insist on poking, prodding, and even sniffing the bird to ensure it met her standards. It would be wrapped in white butcher paper that was torn off a roll that seemed to my child eyes to be bigger than me, and then handed over the counter like a treasure.
We’d walk back to the house, she’d liberally salt and pepper it, rub it with a cut garlic clove, then place it in the fridge “to season” overnight, before roasting the next day in a hot oven for what seemed like forever but was just about an hour every time.
We’d fight over the crispy skin and wings, and gobbled with delight whatever piece we were granted at the table later. Damn, that was good.
Roasting chickens at home isn’t rocket science, though we home cooks sometimes try to make it insanely more complicated than it need be; quite frankly none of us really need to deviate from Ma-Ma’s recipe from now over 50 years ago to make great roast chicken at home.
There are a few tips and tricks you need to keep in mind however.
One, you need to track down the best damn bird you can find. Your Sunday Afternoon Roast Chicken deserves more than the tired, mass-produced bird frozen in the poultry bin at your big box grocer; find a farmers market, coop, local farmer, or other vendor who sells real, pasture or yard raised chickens who’ve eaten more than just grain day in and day out (chickens are omnivores you know…). I guarantee that bird will taste more chicken-y that any you’ll find (ever) at the big box.
Drier birds (before roasting) make for crispier skin, so grab your roaster the day before, pat it dry, season to your liking, and throw it in the fridge to let those seasonings work their magic and the skin the dry a bit. I like to truss mine at this point to make the cook even easier.
By the way, you’ll read a ton of recipes that suggest adding vegetables, a bit of stock, or even herbs to the pan when roasting; my chicken mentor thinks that’s a mistake – anything that adds moisture makes for less crispy skin given the steam that’s produced during the cook.
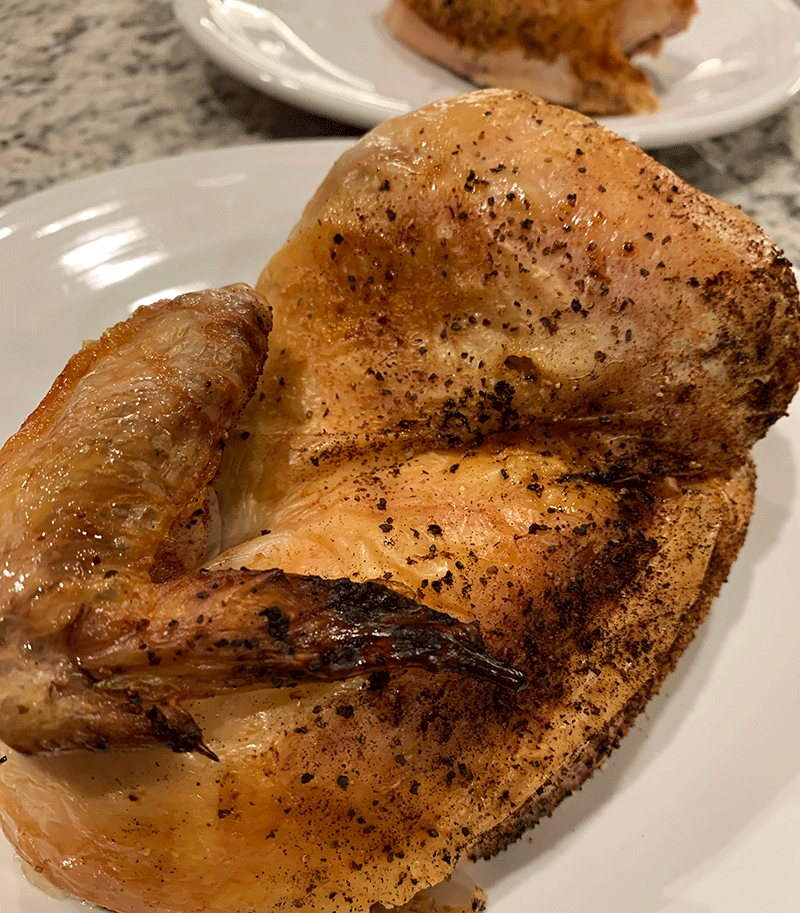
And while a case might be made for a slow cook followed by a blast of heat at the end to crisp up skin, most of the chefs that I pestered for their chicken roasting thoughts suggested just firing the oven to 425 and roasting away (roughly an hour for a 4 pounder) until the meat around the thigh / leg joint is 175-176. Ma-Ma did it that way, and most of us are looking to make the best damn food we can as efficiently (and simply) as possible.
Ma-Ma was always careful to save the rendered chicken fat – you should as well, it’s delicious, and making a pot of homemade stock with the picked bones is child’s play simple.

4-5 pound chicken, see note above about finding the best bird
Great salt
Fresh ground pepper
Spices of your choice
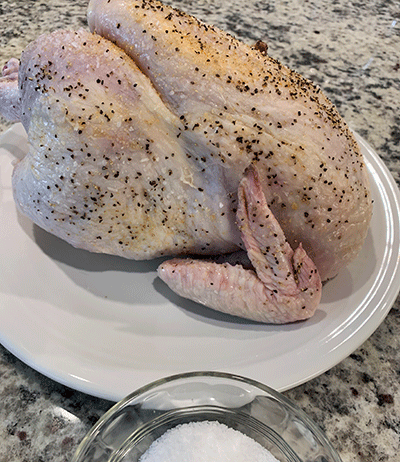 The day before you plan to roast this prime poultry, pat it dry, season it at minimum with salt and pepper, place it on a plate and throw it in the fridge uncovered. Leave it alone, you’re wanting the seasonings to work their slow magic and the skin to begin to dry out (the drier the better for crispy skin).
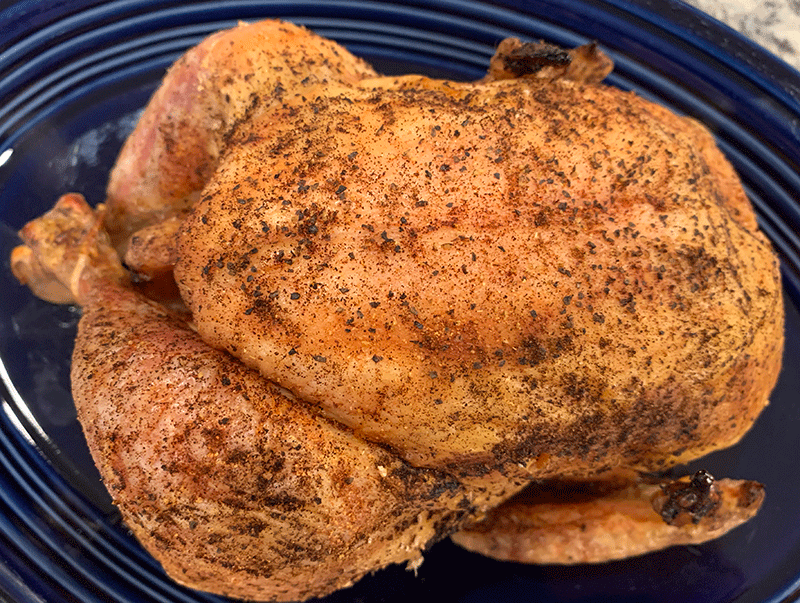
When you’re ready to cook, preheat the oven to 425, and slide the bird in on a baking tray for roughly an hour.
Start checking (or use a continuous read, ovenproof thermometer) at about 50 minutes; we’re looking for the temperature at the leg/thigh junction to be about 176 when the bird comes out.
I like to let the bird rest for 10-15 minutes before carving, longer if I’m going to pick the meat for chicken salad, sandwiches, or other recipes, and make damn sure you save both the chicken fat that renders off as well as the bones for stock.
Enjoy.

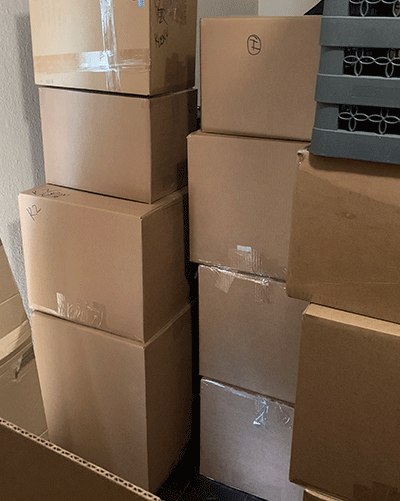 We’re taking a break around our camp (and home, and office) this next week to complete a move; we’ll be back on our normal schedule and routine starting the week of the 7th.
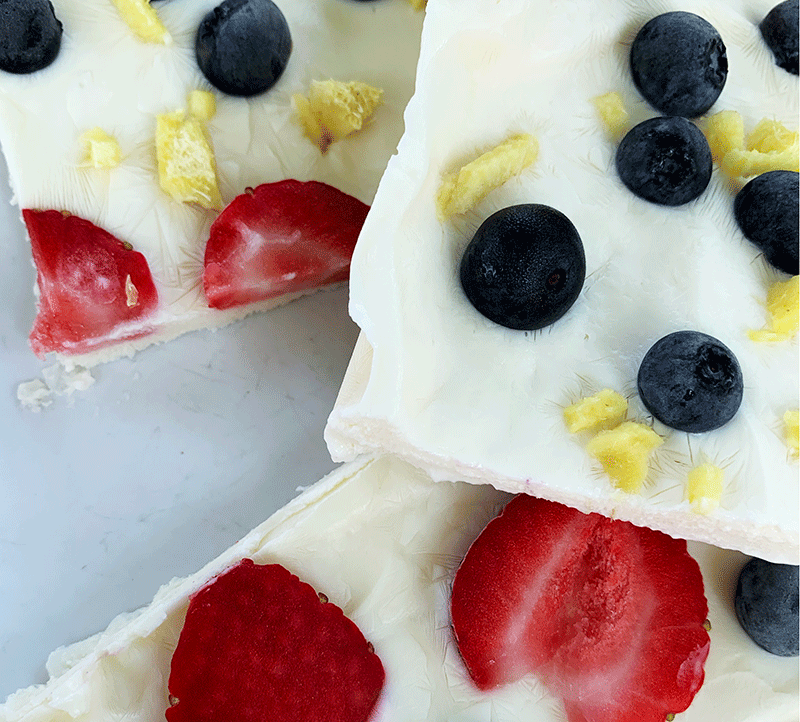

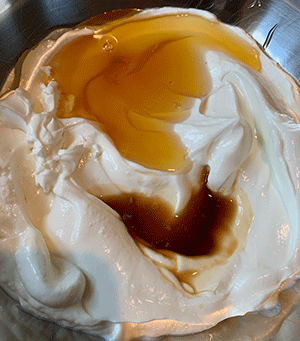 Stir together the yogurt, sweetener of choice if using, and vanilla until well combined, then spread evenly over the parchment paper (you’re shooting for about 1/4-inch thick layer here).

